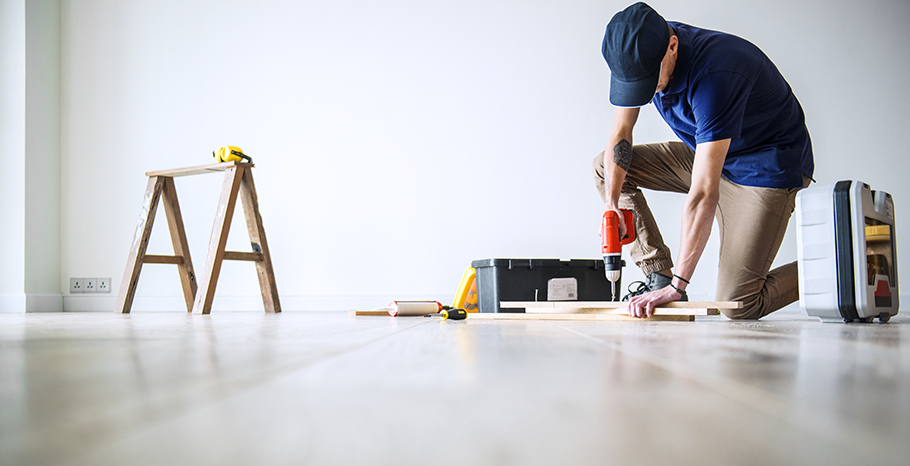
How to Install Laminate Flooring
Installing laminate flooring can be a rewarding DIY project if you follow the correct steps and preparation. Here is a detailed guide to help you through the process:
1. Preparation
- Check Subfloor: Ensure your subfloor is clean, dry, and level. Use a straight edge to find any high or low spots and address them. High spots can be sanded down, and low spots can be filled with a vinyl floor patch .
- Acclimate Flooring: Let your laminate flooring sit in the room where it will be installed for at least 24 hours to acclimate to the room’s temperature and humidity .
- Remove Baseboards and Door Thresholds: Carefully remove any baseboards and thresholds to allow the flooring to fit snugly against the walls .
2. Tools and Materials Needed
- Laminate flooring planks
- Underlayment (if not pre-attached)
- Spacers
- Tape measure
- Utility knife
- Miter saw or circular saw
- Rubber mallet
- Pull bar
- Tapping block
- Safety glasses and gloves
3. Installation Steps
- Lay the Underlayment: Roll out the underlayment across the floor, making sure to cover the entire area. Some laminate flooring comes with an underlayment attached, so this step may be unnecessary .
- Plan Your Layout: Measure the room and plan the layout to avoid having very narrow planks along the walls. Start from a corner and work your way across the room. Make sure to leave a 1/4-inch gap around the perimeter for expansion .
- Install the First Row: Place the first plank with the tongue side facing the wall. Use spacers to maintain the expansion gap. Continue placing planks end to end until you reach the end of the row .
- Cut the Last Plank in the Row: Measure and cut the last plank to fit, making sure to maintain the expansion gap. Use the off-cut piece to start the next row to stagger the seams .
- Click and Lock the Planks: For subsequent rows, angle the plank’s tongue into the groove of the previous row and press down to lock it in place. Use a tapping block and rubber mallet to ensure a tight fit without damaging the planks .
- Continue Laying the Floor: Continue this process, ensuring that the seams are staggered and that each plank is tightly fitted. Use a pull bar to fit the planks snugly in tight spaces .
- Cutting Around Obstacles: Use a jigsaw or coping saw to cut planks to fit around door jambs and other obstacles .
- Final Row: Measure and cut the planks for the final row, remembering to maintain the expansion gap. Use a pull bar to fit these planks tightly against the previous row .
4. Finishing Touches
- Reinstall Baseboards and Thresholds: Once all the planks are in place, reinstall the baseboards and door thresholds. This will cover the expansion gap and give a finished look .
- Clean the Floor: Vacuum or sweep the floor to remove any debris, and your new laminate floor is ready to use .
By following these steps, you can successfully install laminate flooring and give your room a fresh, new look.
A1Flooring(VIC) provides these products and categories in Australia especially in MELBOURNE.


